![]()
How To Use The WordPress Media Library: 5-Minute Tutorial
Just about every website owner out there uses media, such as photos and videos, to add interest and information to their websites. And WordPress makes managing all these media files really easy – enter the WordPress Media Library!
If you are still new to WordPress, then this might be the first time that you have heard about the media library, but trust me, it really is a game-changer!
The WordPress media library comes default with every WordPress website and it helps you to organize and manage all your media files in one place. It is really easy to use once you get the hang of it and it will help you spend less time managing your media files and more time creating content for your website.
In this tutorial, I’ll show you how the media library works and how to upload, edit and delete your website media files.
Let’s get started!
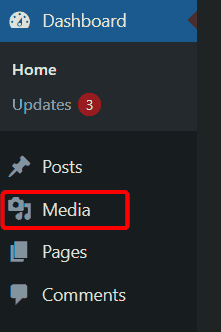
Where To Find The WordPress Media Libary
You can find the WordPress media library by logging into your WordPress admin dashboard. The media library menu item is near the top of the WordPress admin menu on the left-hand side of the screen under “Media“.
How To Upload Media To Your Media Library
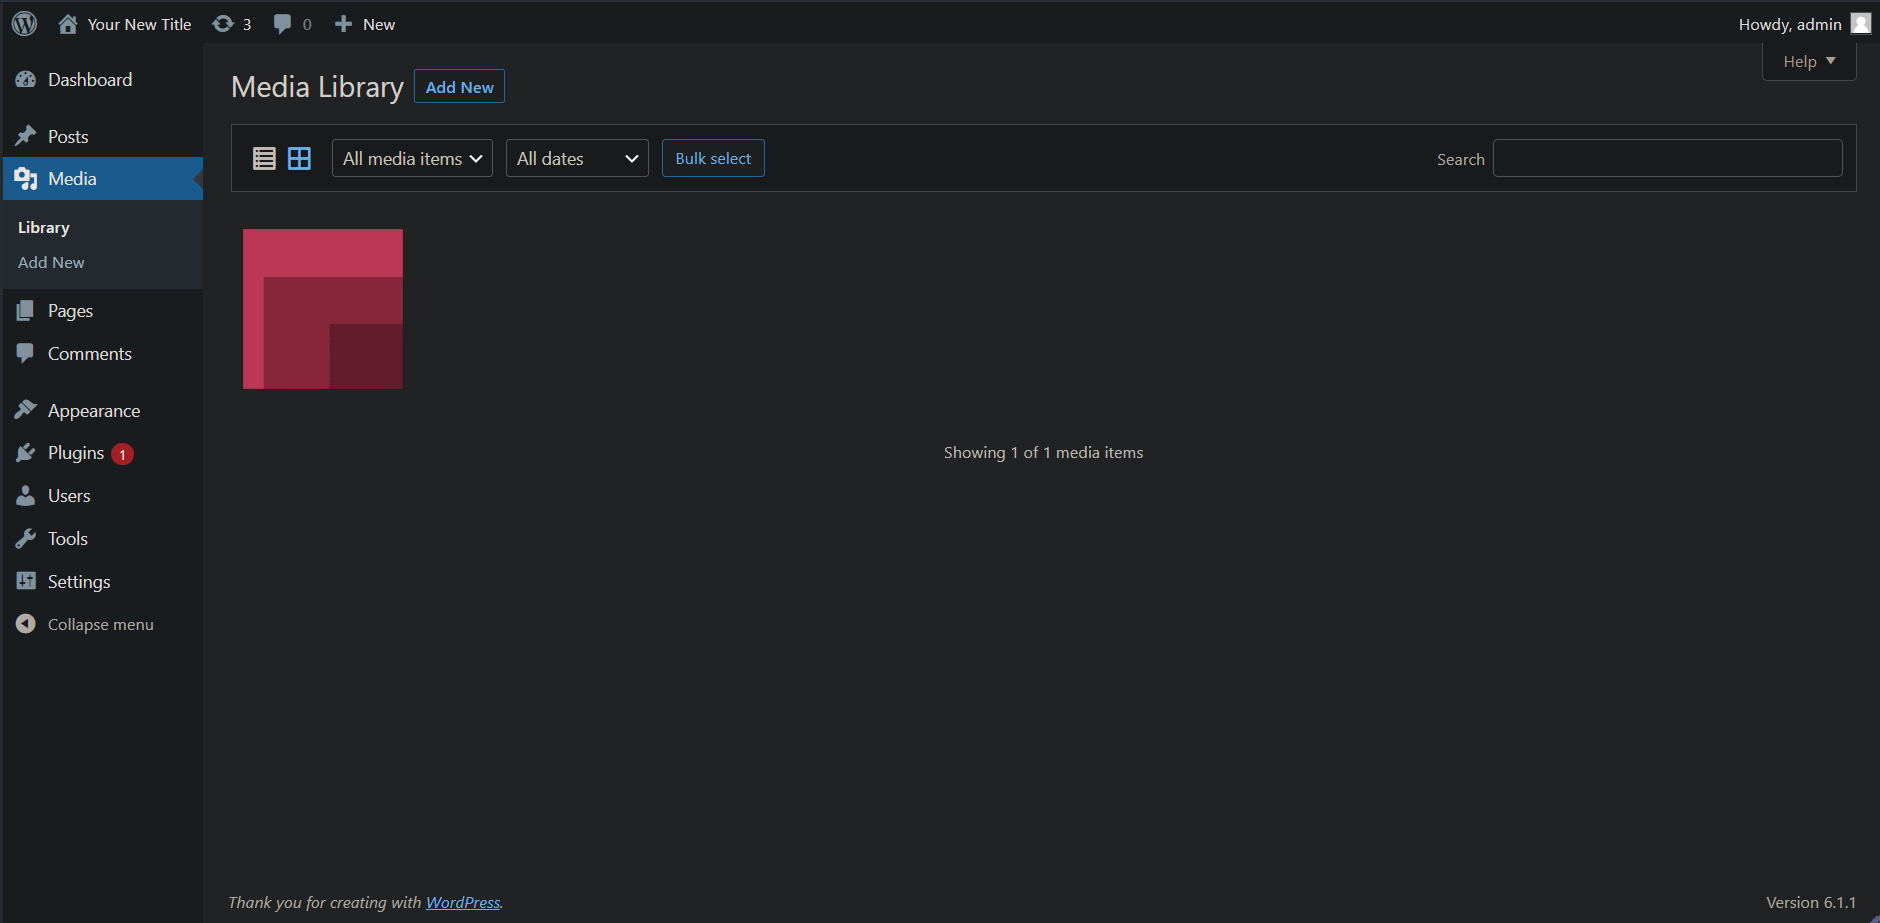
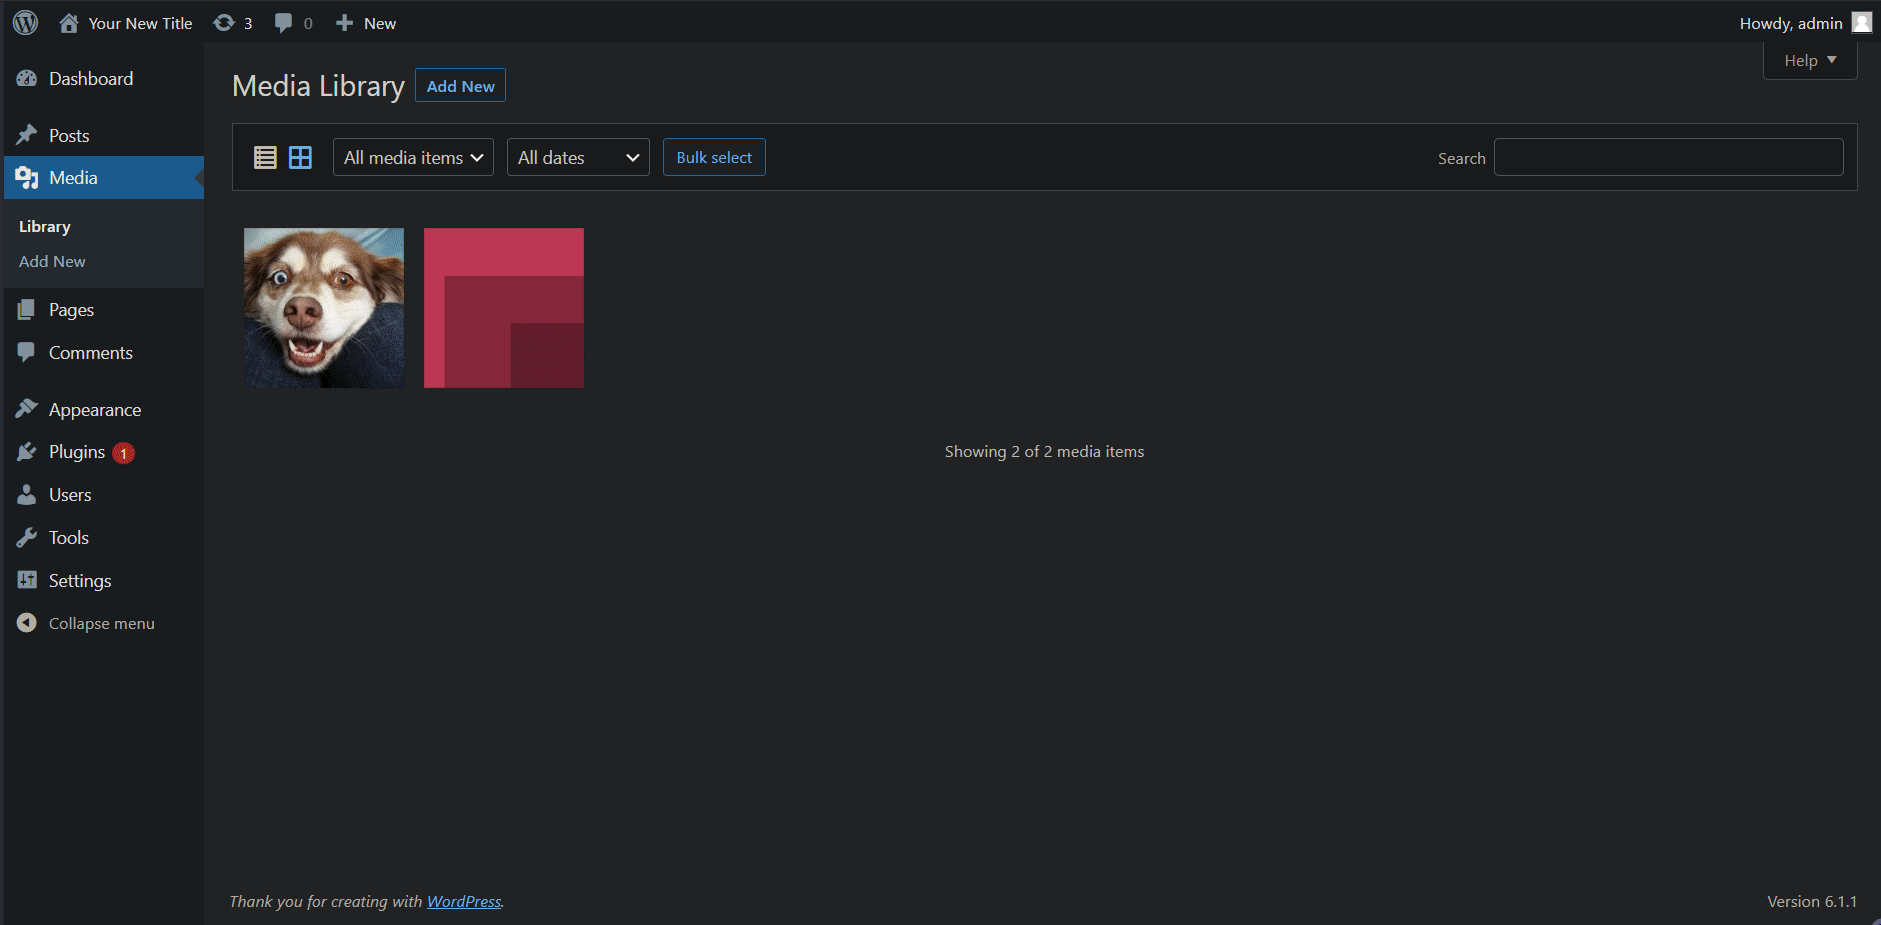
There are a couple of ways to upload media to your media library from your admin dashboard. Click the “Media” menu item (if you hover your mouse over the Media menu item you will also see that you will have two options: “Library” and “Add New” – Likewise, if you click on the Media menu item, the menu will expand showing these two items).
Your media library should now be open. Click “Add New” to upload media to your library.
There are two ways to upload media to your library:
Method 1 – Upload
Click the “Select Files” button. This will open up windows explorer where you can choose the media you’d like to upload. Select the media item and click “Open“. The item will now be uploaded to your media library.
If you would like to upload more than one media item, you can hold down the Ctrl key while selecting them.
Method 2 – Drag and Drop
For this method, you simply need to open Windows Explorer and drag the media you would like to upload directly into the media library.
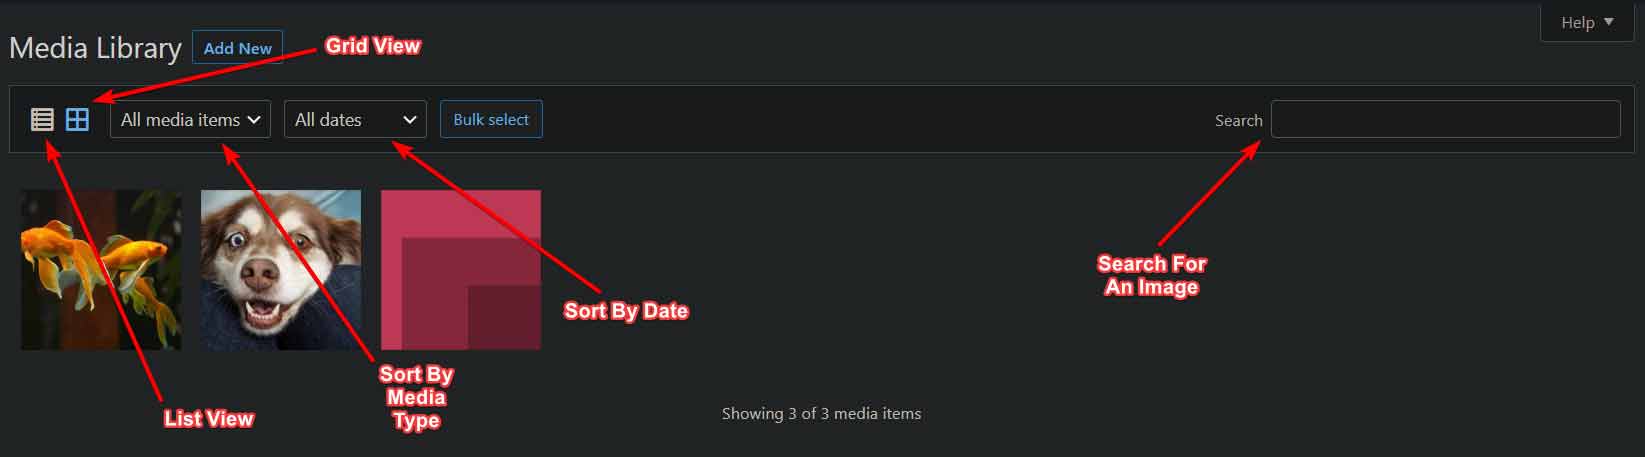
The Media Library Dashboard
The media library dashboard is pretty intuitive with everything you need right there. You can:
- Change the layout (list or grid)
- Sort by media type
- Sort by date
- Bulk select
- Search
Media Library Grid View
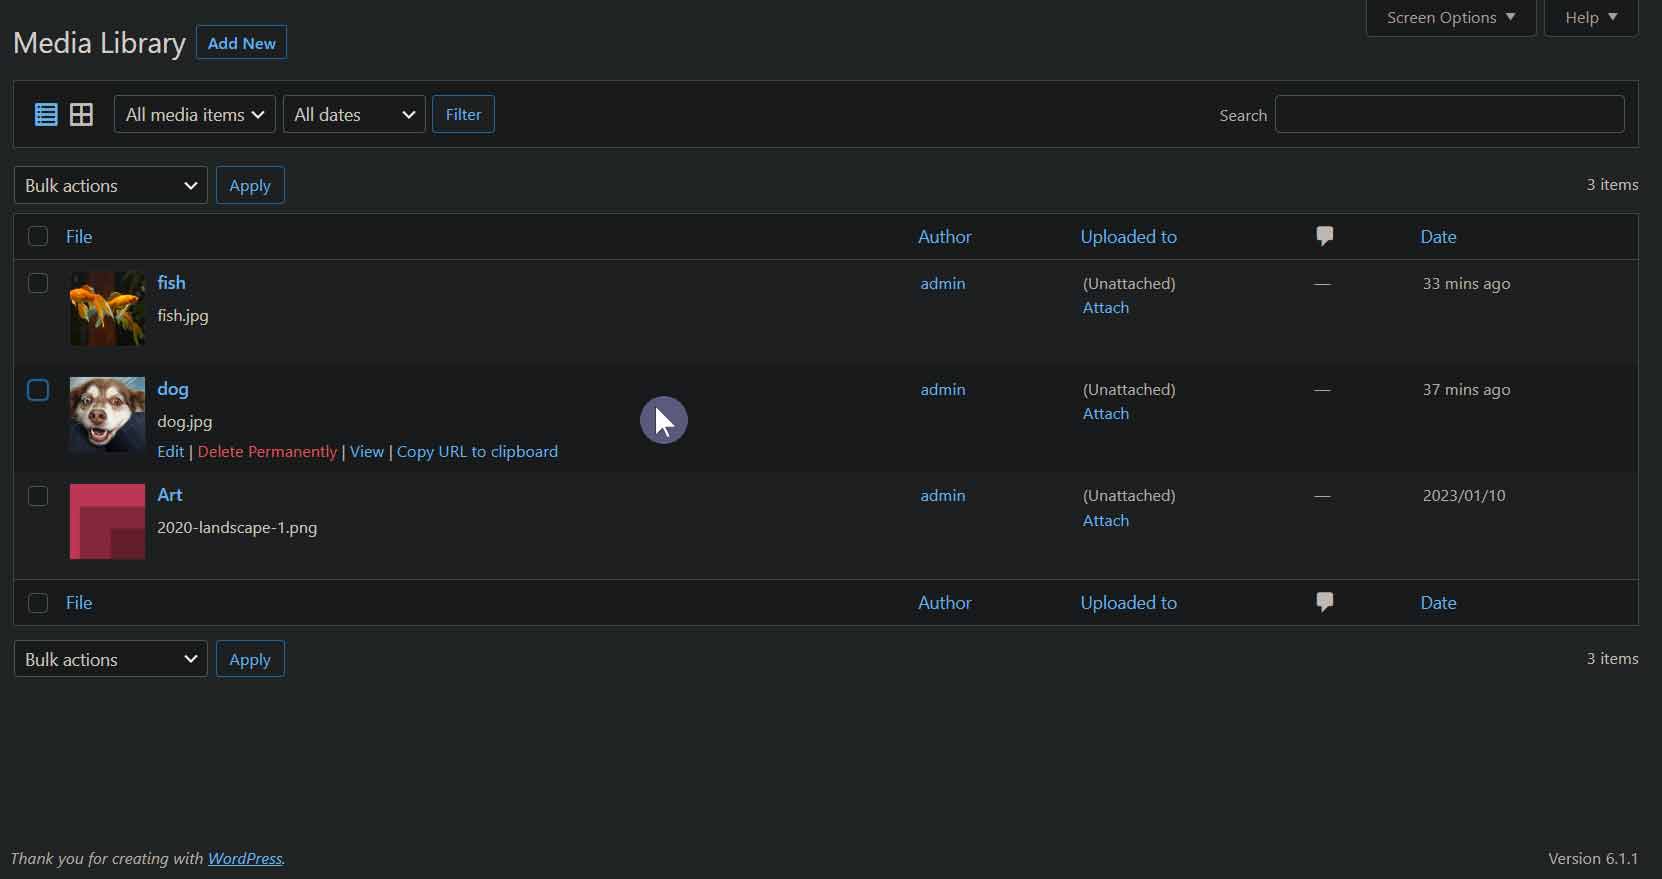
Media Library List View
The media library list view gives you quite a lot of info on each of the media items in the library. From the list view you will be able to see:
- Thumbnail
- Title
- File name
- Who uploaded the media item
- What page or post the media item is attached to
- Comments attached to the media item
- Upload date
- Bulk Actions
If you hover your mouse over one of the items, a new menu will be displayed with the following options:
- Edit
- Permanently delete
- View
- Copy URL to clipboard
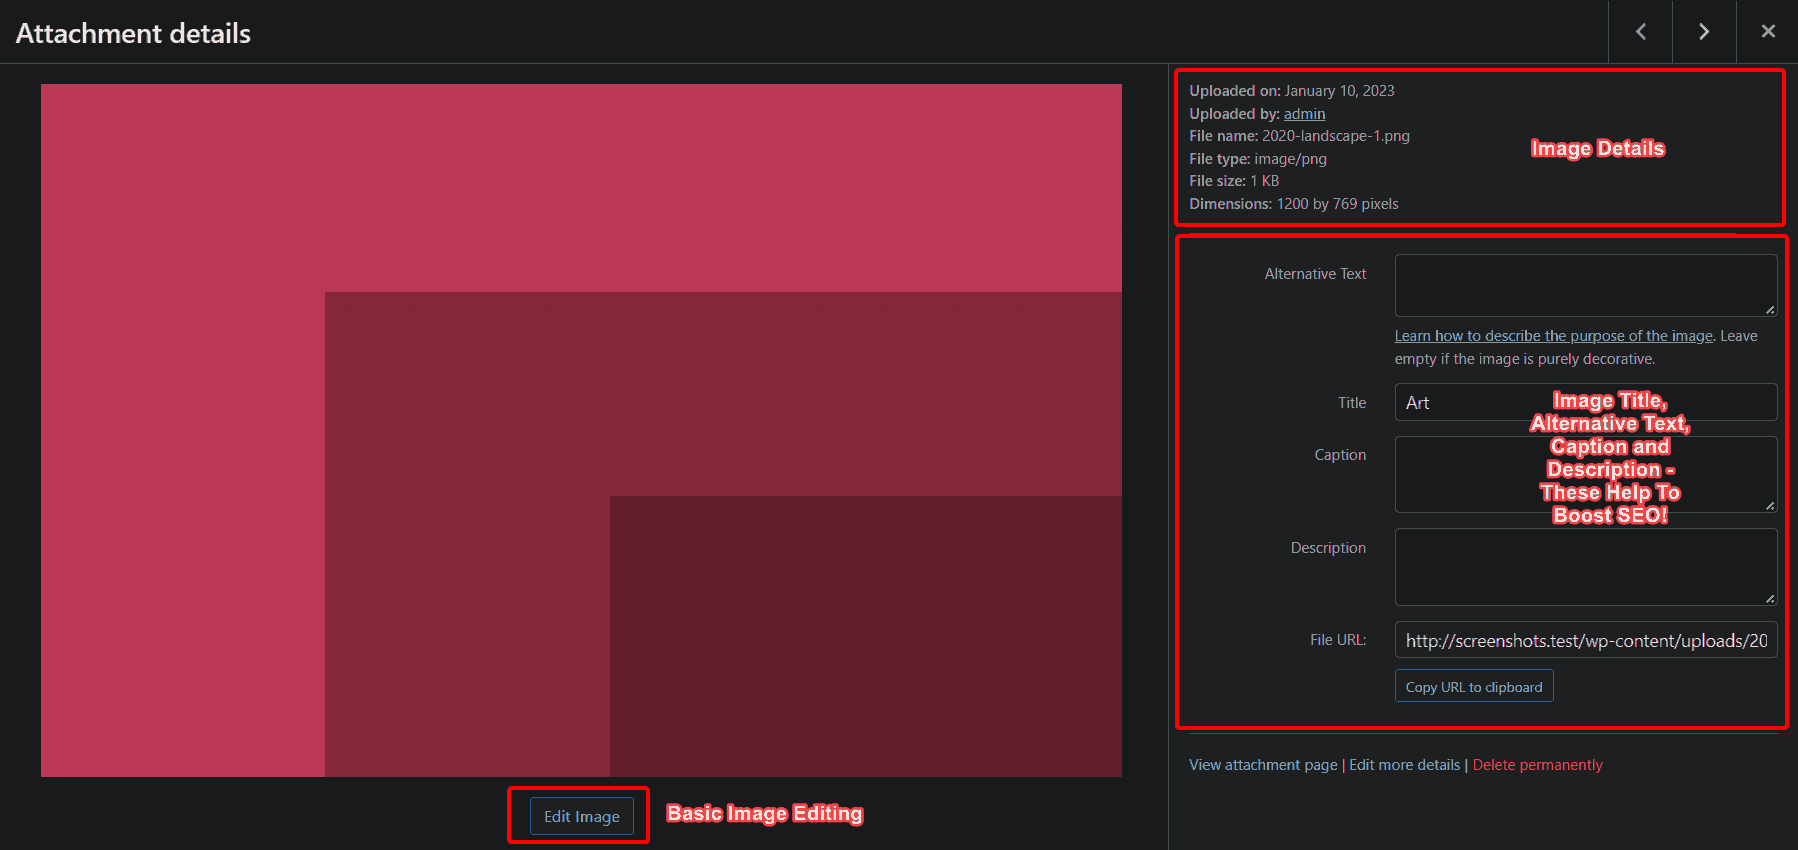
How To Edit A Media Item
To edit a media item, click on the image thumbnail in grid view. This will open up the “Attachment Details” window.
Here you will be able to see the following information:
- Picture
- Media item details
- Alternative Text
- Title
- Caption
- Description
- File URL
Completing the alternative text, title, caption, and description fields will help search engines know what your image is about. You can use these fields to help boost your SEO!
On this screen you will also be able to:
- View the attachment page
- Edit more details
- Permanently delete the media item
- Edit the image
Edit Image
WordPress includes a really handy image editing function which really can be a lifesaver. Yes, it is basic, but it gives you quite a few options if you quickly need to make changes to an image without uploading it again.
Some of the image editing options include:
- Crop
- Rotate Left
- Rotate Right
- Flip Vertical
- Flip Horizontal
- Scale Or Resize An Image
- Thumbnail Settings
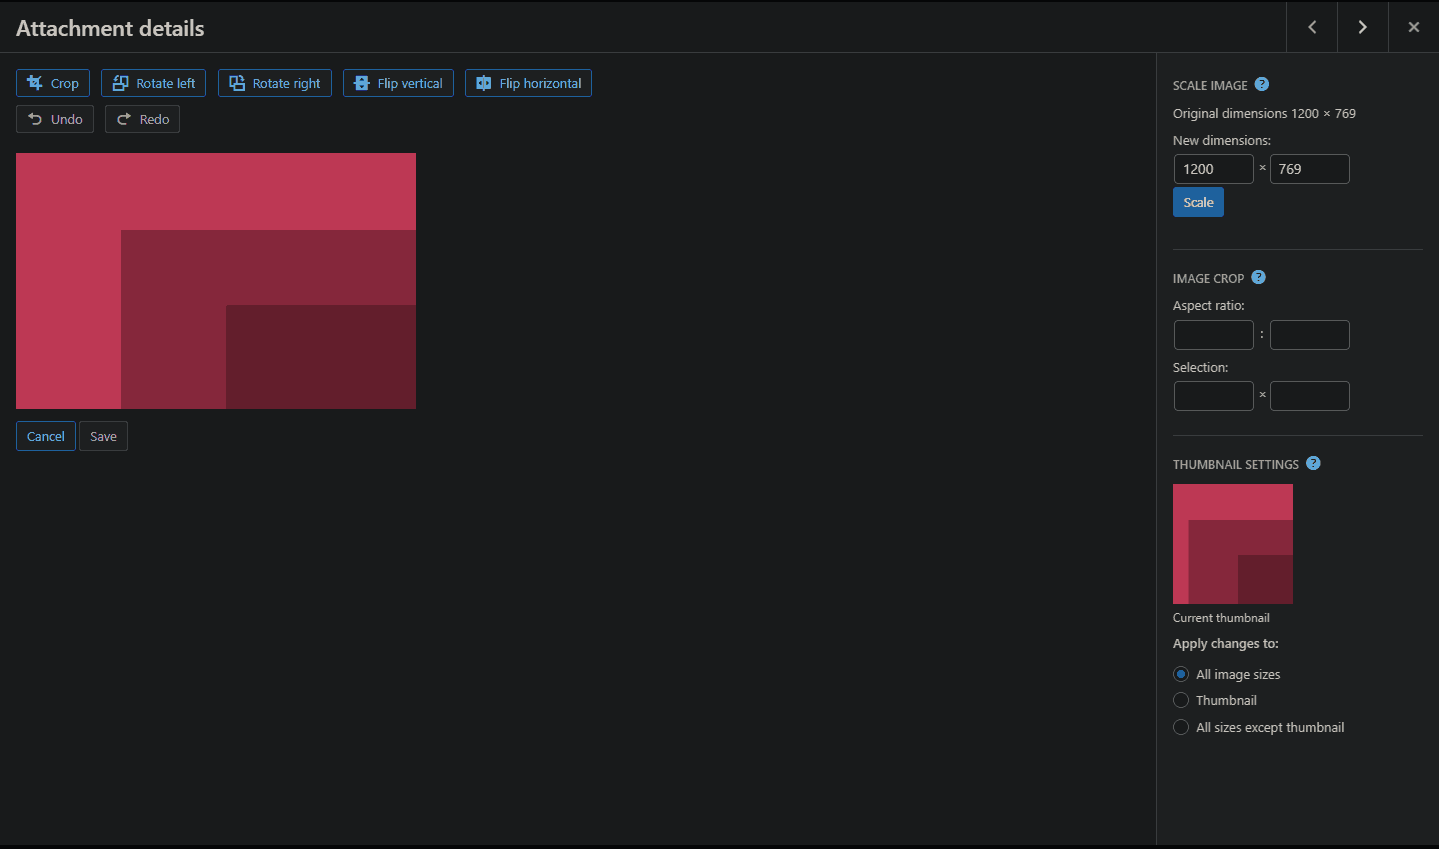
Pro tip! If you ever get stuck and aren’t sure what an option does, just click on the little circle icon with a question mark which will open up a full explanation of each function.
How To Bulk Delete Media
Sometimes you may need to delete more than one media item at a time. WordPress makes this easy with its bulk select option.
- Click “Bulk Select” in the grid view
- Select the media items you would like to delete by clicking on them
- Click “Delete Permanently”
- A message will pop up to ask you to confirm whether you would like to delete the item
- Click “OK”

Conclusion
The WordPress media library gives you a convenient way to manage all the media items on your website and it allows you to easily add, edit and delete media from one spot.
I hope that this quick overview of the media library helped you. But please let me know if you have any questions in the comments section below!