![]()

How To Sign Up For Web Hosting (Step-By-Step Guide)
Once you’ve investigated the different web hosting options and services available, it’s time to sign up!
If you’ve visited Notebook and Penguin before, you may know that I use HostArmada as my website hosting provider. After a few bad experiences with other web hosts, I finally found HostArmada, and I’m very happy with them.
In my previous article, I detailed all the reasons why I use HostArmada and why they might be a great option for your small business website as well!
In this article, I’ll go over how to sign up with HostArmada if you’d like to. The general process, however, is very similar to any other web host you choose.
Step 1 – Choose Your Package
Head on over to HostArmada’s website. This link will take you directly to their shared hosting web page. Here you will find 3 hosting options: Start Dock, Web Warp, and Speed Reaper.
If you are building your website for the first time, and don’t have an established site with lots of visitors, then the Start Dock hosting package is a good option.
Note that you can only host one website with the Start Dock package.
If you plan on hosting more websites you will need to look at either the Web Warp or Speed Reaper hosting packages.
Scroll down the page until you reach the section which shows the shared hosting options that are available. Here you will see the three hosting packages that you can choose from.
Above the options, you will see buttons that allow you to choose how long you would like to buy hosting for. You will notice that you get the best monthly hosting price when you choose the triennial (three-year) option.
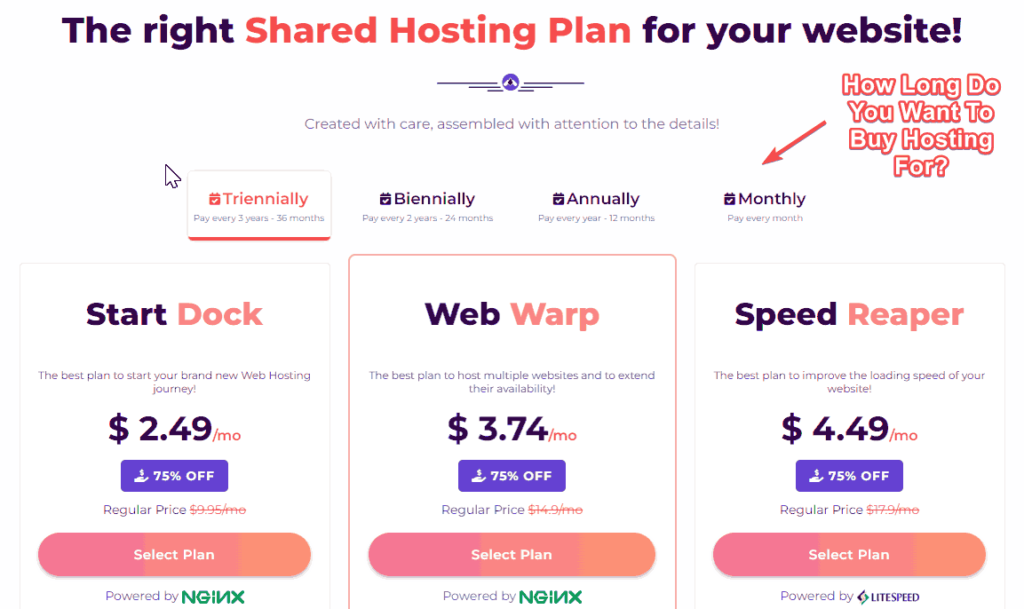
Once you are happy with the amount of time you will be buying hosting for, you can go ahead and click “Select Plan” for the hosting package you would like.
Step 2 – Choose A Free Domain Name
When you click “Select Plan”, you will be taken to a page where you will need to choose a domain name for your hosting. You won’t be able to buy web hosting without a domain name.
If you don’t already have a domain name, you can choose a new one; the domain name you choose is free for the first year!
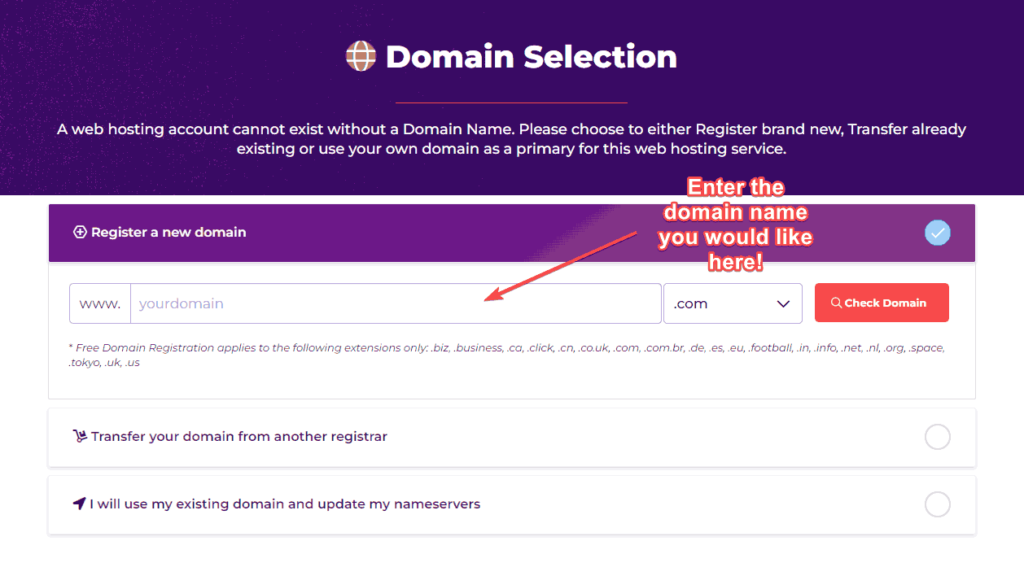
If your chosen domain is available, you will see a success message!
If it isn’t available you will need to think of another domain name. Check out our article on domain name ideas and how to find alternatives if your chosen domain isn’t available.
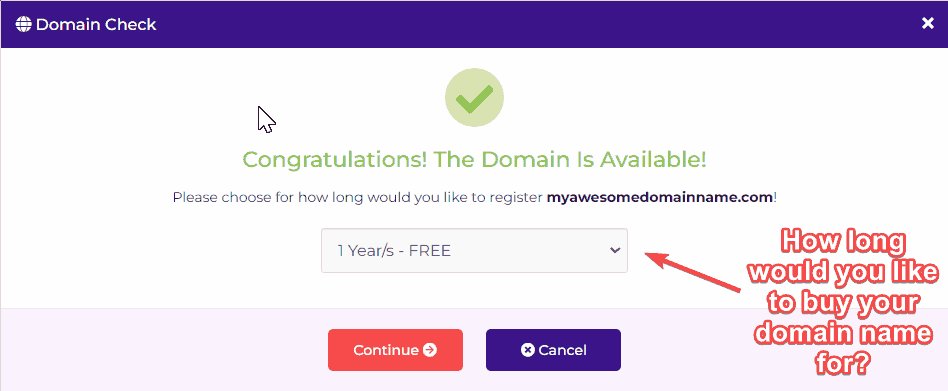
When you receive the success message, you will notice that there is a dropdown menu that will allow you to choose how long you would like to register your domain name for.
You can choose to pay for an extended period upfront. This might be an option for you if you don’t want to think about domain name renewal payments once a year. However, renewing your domain is really easy and as long as you renew once a year, you won’t lose your domain name.
That said, I would recommend that you leave it on the default option: 1 Year/s – FREE.
Once you are happy with your selection, click “Continue“.
Step 3 – Order Confirmation and Addons
On the next page, you will see a lot of options! Let’s go through each of them…
Choose Billing Cycle
Here you can confirm that you would like either the monthly, annual, biennial, or triennial hosting plans.

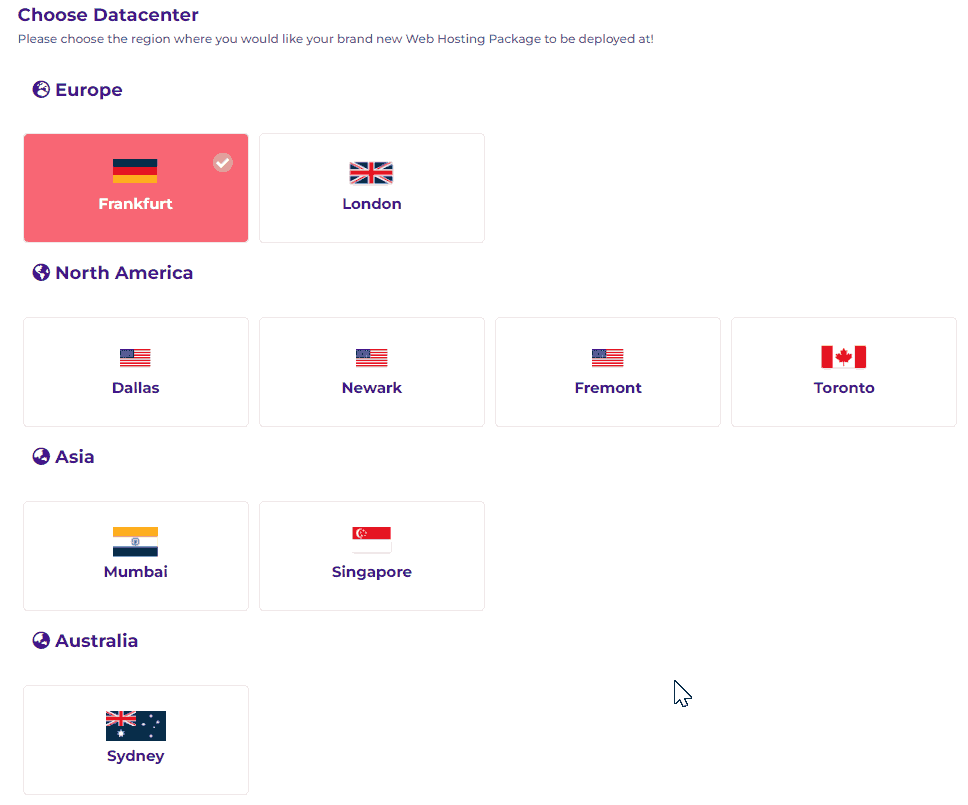
Choose Datacenter
HostArmada has 9 datacenters that span 4 continents! Here you need to choose the datacenter you would like. Choose one that is closest to your customers or website visitors.
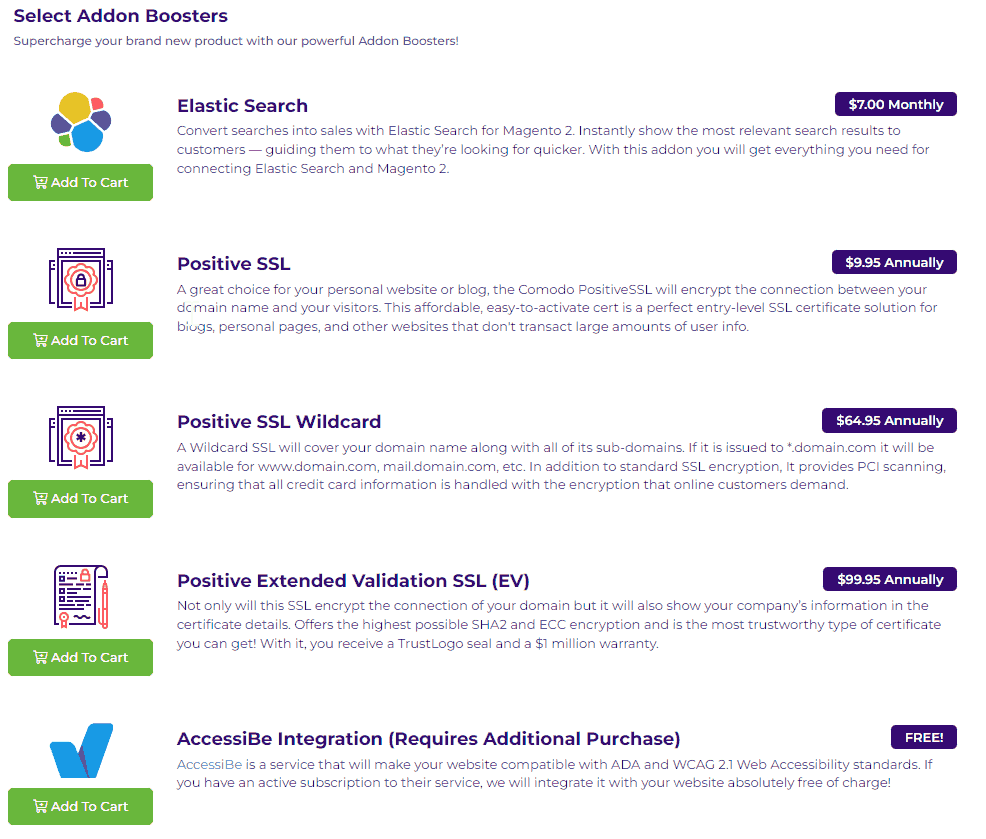
Select Addon Boosters
In this section, you can choose addons for your new hosting package.
There are quite a few different things that you can add to your hosting here. I don’t, however, think that there is anything there that you need to purchase right away – you can always add any of these to your hosting package as you need them at a later date.
Note that you already get free SSL with your hosting package so it isn’t necessary to buy the other SSL options now. However, if you have a busy eCommerce store at a later stage you could look into these options for added security.
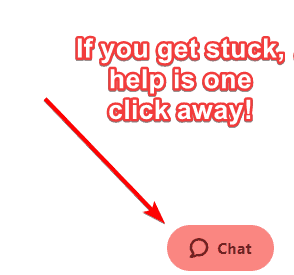
If you go through the options and you think you might need something listed there but you aren’t sure, click the “Chat” button at the bottom right of the screen to chat with someone from HostArmada’s support team.
Once you are done, click “Preview Order“.
Step 4 – Domain Configuration
On this page, you will need to confirm everything for your domain name.
Make sure that the name you have chosen is 100% correct because you won’t be able to change it later.

You will notice an option on this screen for Privacy Protection. Some hosts offer this option for free but unfortunately, HostArmada does not.
Privacy protection is a good option if you don’t want your information freely available for anyone to see if they do a whois search for your domain name. If you choose Privacy Protection, your details will be replaced with placeholder information so that no one will know that you are the owner of the domain.
That said, privacy protection is really good value as it costs less than $5 to protect your domain and your private information.
However, if you are on a tight budget, you can turn this option off before proceeding and then change the contact details for your domain once your hosting and domain are set up. You can set up an extra Gmail account for this purpose if you would like to.
Step 5 – Order Summary
We’re almost done!
On the order summary screen, you will be able to see a summary of what you will be buying. You will also be able to add a promotional or coupon code so that you can get your hosting at an even better rate.
If you are buying your hosting during a promotional period, the coupon will be automatically applied.
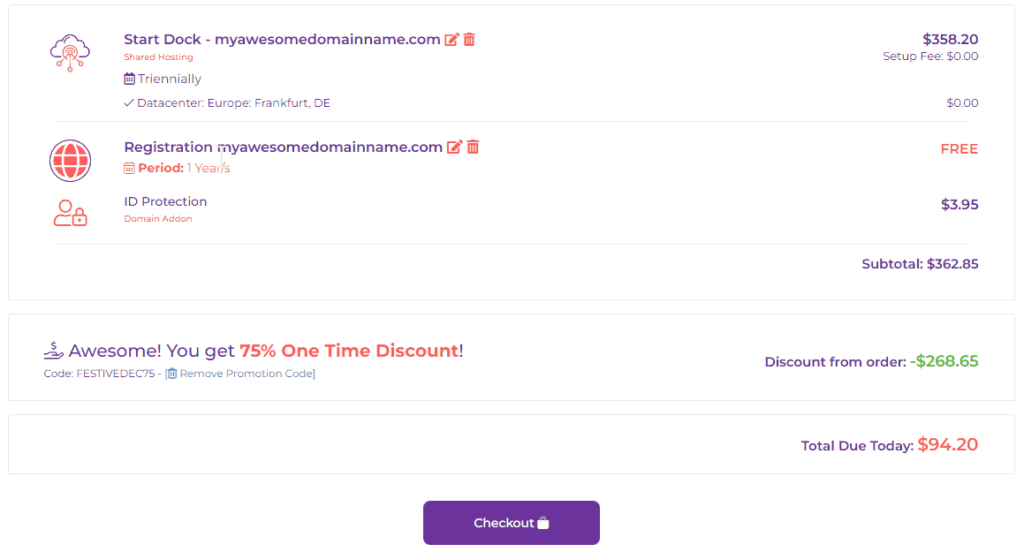
Once you are happy with everything you have chosen, you can click “Checkout“.
Step 6 – Information and Payment
On this screen, you will need to add all your information. You will also need to add the details that you would like to include for your domain name registration, along with a username and password for your account.
Once you have done this, you can add your payment details.
You will be able to pay via Credit Card or PayPal.
Once you have completed this form you should click “Complete Order” and your payment will be processed.
CONGRATULATIONS! You are now the proud owner of a brand-spanking new web hosting account and domain name for your small business!
Shortly, you will receive an email from HostArmada confirming that your purchase was a success! The email will include your log in details along with other important information such as the information you will need to set up your email accounts.
Make sure you save this email and keep it in a safe place because you will need all this info later!
Conclusion
Now that you have hosting and a domain name for your small business website you are one step closer to getting your website built!
What’s next? In our next article, I’ll guide you through logging into your new web hosting account and cPanel (the tool you will use to manage your website options). And after that, we will get started building your website!
Disclaimer: The information and screenshots provided in this article were correct when it was published. However, things change so please make sure that you check all the details with the host you choose before making any purchases.